

How Hard Is Dragon Ball Fighterz
Fighting games are hard. Before you fifty-fifty start playing a fighting game, you lot basically have to sit down downward and learn an entirely new language. You showtime throwing around terms like "frame data" and "Korean backdash" and nigh folks are going to first zoning out. Arc System Works knew this when they made Dragon Ball FighterZ, which is why a lot of the mechanics in the game were designed with a straightforward, streamlined philosophy in mind.
Recent patches accept embraced this pattern philosophy even further, adding new mechanics that make the game easier than e'er to play. You'll all the same take to study notations to understand these mechanics, so volume yourself an overnight stay in the Hyperbolic Time Sleeping room and castor upwardly on the nuts before we brainstorm.
Updated Feb 21, 2022, by Lewis Parker: Even though Dragon Ball FighterZ released in 2018, the multitude of balance patches and new content has constantly kept things fresh. With new character Android 21 (Lab Glaze)'s release, there's never been a better time larn everything new that Dragon Ball FighterZ has to offer. We've updated this list to keep yous in the loop.
x Rejumps
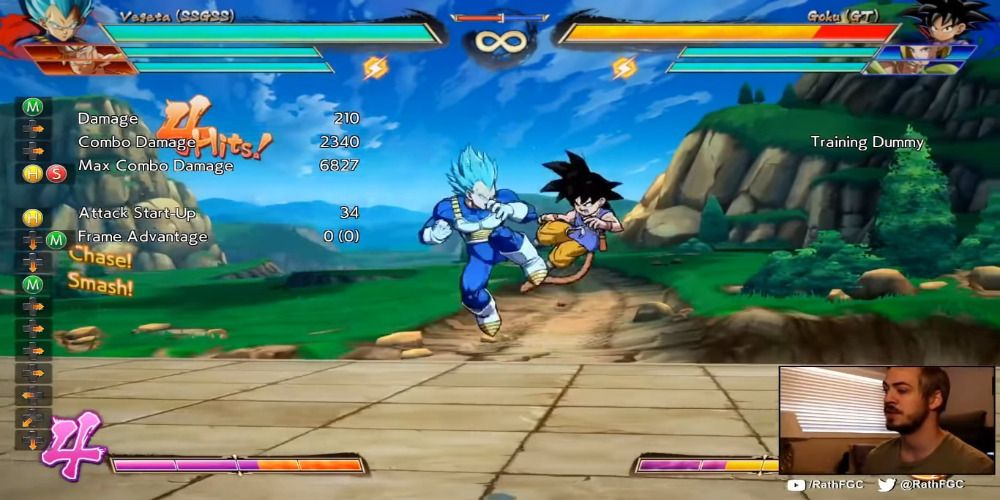
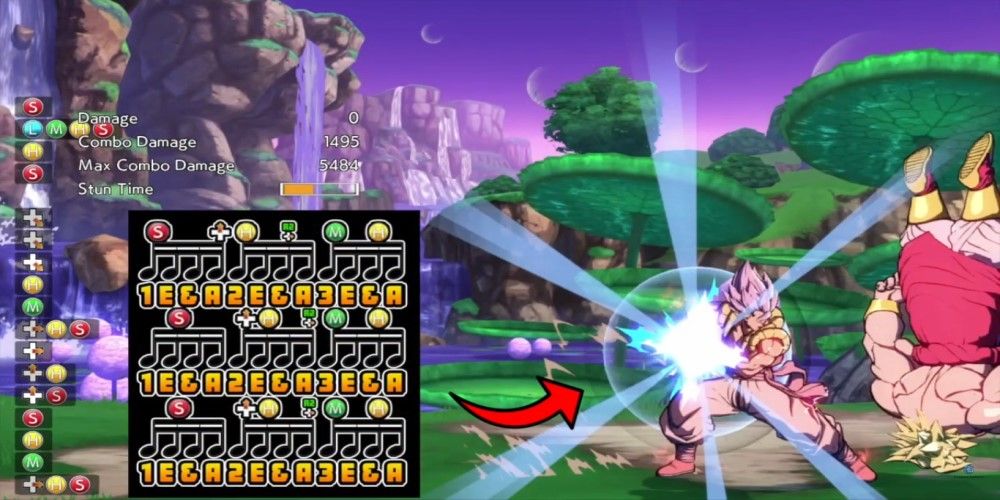
Rejump is a blanket term used to refer to a specific, somewhat challenging route nigh of the bandage has access to. As the name implies, a rejump allows a character to leave the ground, use an air action, land, and then use your air action once more without the combo dropping. In short, it's a philharmonic that does extra damage past assuasive you to use your air deportment twice.
The exact route can vary from character to character, and breaking downward the specific notations is a piddling difficult without a visual assist, so attempt to learn the basics of the route and then experiment a little to apply the aforementioned route to your ain squad. Information technology is tricky to get downward at outset, but eventually, it will become 2nd nature.
9 Special Motility Z Change
Introduced in the i.28 patch, the term "special z change" refers to a mechanic that allows your characters to switch during a special move. The potential of the mechanic is solely based on your team, equally some characters benefit from it a lot more than than others.
For case, Vegito's Spiral Heel Shot allows whatever character to tag in and dragon rush during a combo. Tagging during Gotenks' EX Special Slap-up Rolling Boot on block allows well-nigh characters to mix the opponent. Using Super Broly'due south unique j.2H after a special tag allows him to add together a massive chunk of harm onto whatsoever combo. The possibilities are endless, and so make sure you explore exactly how information technology helps your team synergise.
eight Super Jump Shortcut
Before patch 1.28, pulling off super jumps and moon jumps wasn't exactly hard, only it was relatively piece of cake to mess up. Super jumps are a pretty important mechanic that nigh lower-level players seem to ignore, as the mechanic grants you admission to better movement control in neutral, specific combo routes, and a niggling something called float mix.
The good news is this is all ten times easier now. By simply holding special, anyone can moon jump like a pro. You can launch yourself across the whole screen with ease at the press of a button. It should also be noted this shortcut makes doing rejumps easier besides, so make sure to add it to your arsenal.
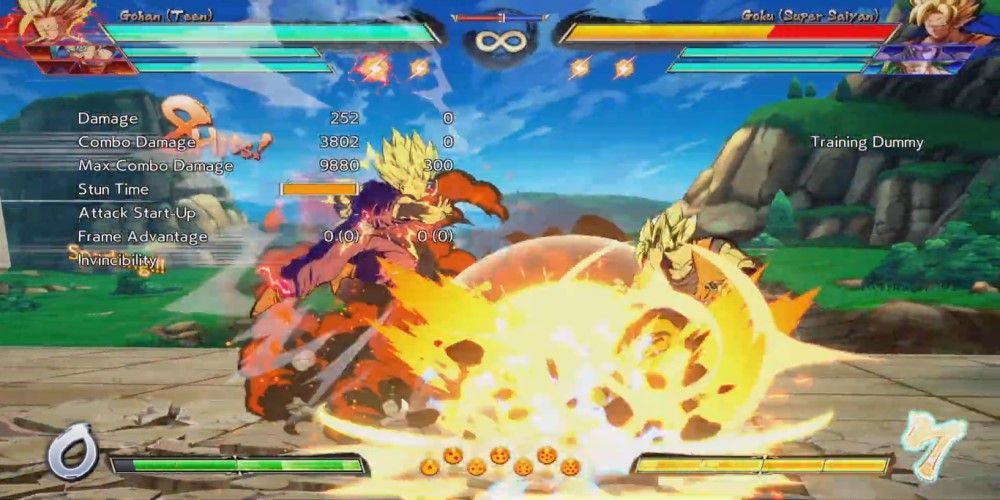
7 Disabling Auto Combos
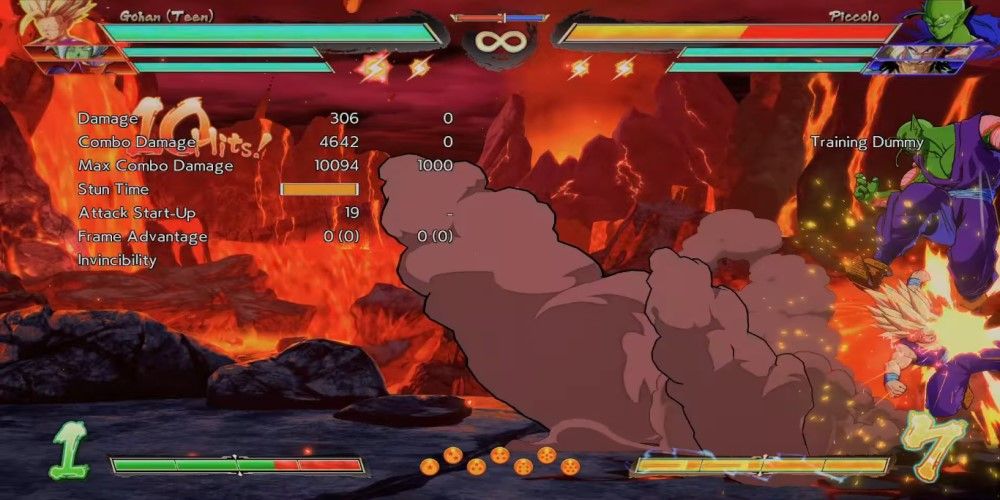
Auto combos, love them or hate them, are a massive part of Dragon Ball FighterZ. As the name suggests, "car combo" is pretty self-explanatory; you brew lite six times, yous get a combo. However, if y'all instead mash 4L in a blockstring, or 4L/1L in a philharmonic, your machine combo won't come out.
This has two primary uses. Firstly, it allows you to chain two continuing lights together in a blockstring. This is useful for characters like Teen Gohan, who come off the basis during the second hit of their auto combo. Secondly, it also allows you lot to chain 2 lights together in a combo, as simply mashing calorie-free attack will automatically practice a lite attack and so a medium assail.
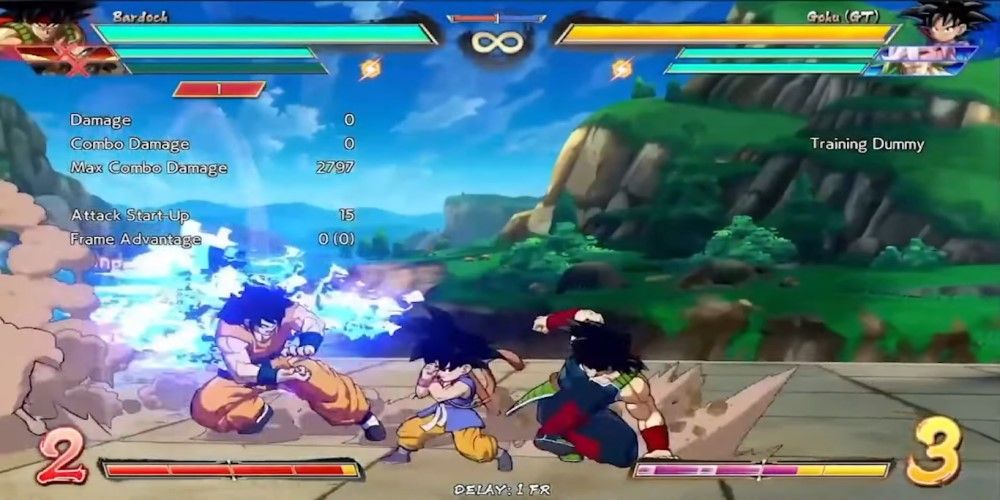
six Loops
Y'all're not going to get very far in Dragon Ball FighterZ if you don't at least endeavor to learn some optimal combos. What "optimal" entails varies drastically from character to character, merely for a solid chunk of the cast it means y'all have to larn how to loop.
Base of operations Vegeta, Blue Goku, Majin Buu, Bardock, Base of operations Goku, Janemba, Adult Gohan – the list is endless, so researching loops is vital. Dragon Ball FighterZ is currently in what many refer to as a "ii-touch" meta, which means maximizing your harm by learning character specific loops is more of import at present than it has always been.
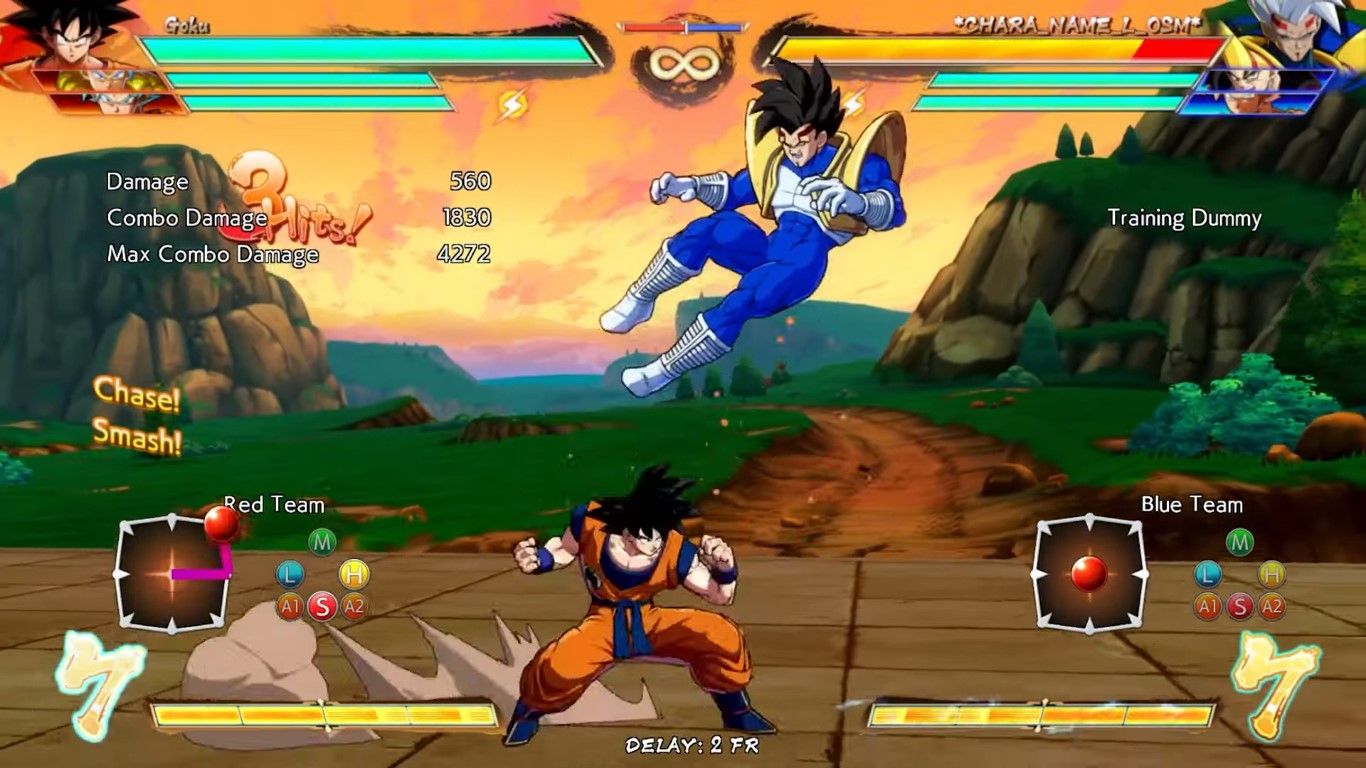
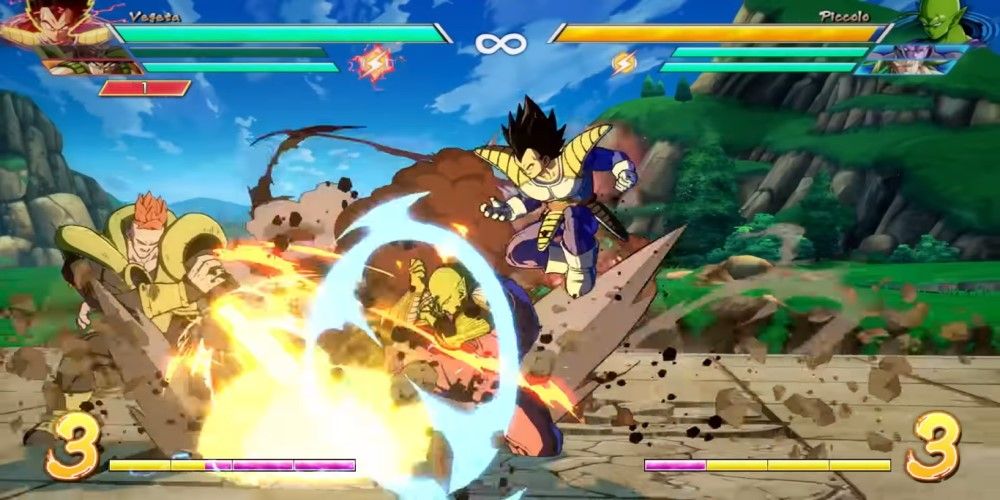
five Ki Charge Dragon Rush
Another 1.28 patch mechanic, "ki charge dragon rush" refers to an odd and arguably underused vitrify to ki charging. The mechanic has received two buffs during DBFZ lifespan, the first of which volition reflect standard ki blasts during the ki blast animation.
The 2d buff is a little bit weirder, and largely underutilized by the community. Striking dragon rush whilst ki charging will launch your grapheme most *full screen*, allowing you lot to catch your opponent from nearly anywhere on the ground. Whilst the mechanic doesn't have much use in combos, its usage in neutral is largely unexplored – and serves as a good way to grab unsuspecting opponents off guard.
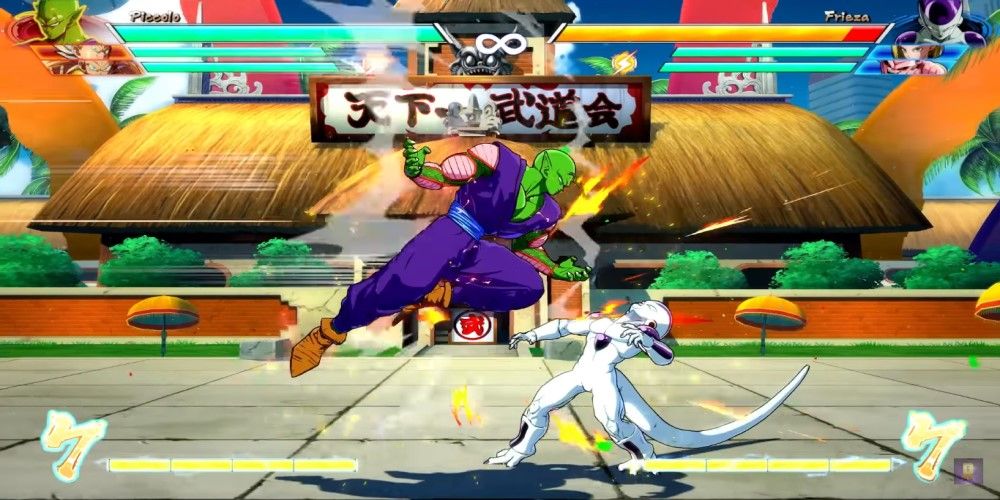
4 Empty Vanish
Empty vanish refers to a sparking exclusive mechanic that allows players admission to a unique fashion to both extend combos and mix the opponent. Past holding M+H in spark, instead of knocking the opponent away with a regular vanish your character volition bladder in place afterward teleporting.
This is useful in combos every bit a fashion to either tack on a few extra hits, or to dragon rush at the finish of a philharmonic. Its primary utilise comes in the way of mix, as doing this outside of a combo will allow you to hit your opponent with an easy overhead, or, preferably, to immediately dash over your opponents head and cross them up.
iii Sparking Heavy Cancels
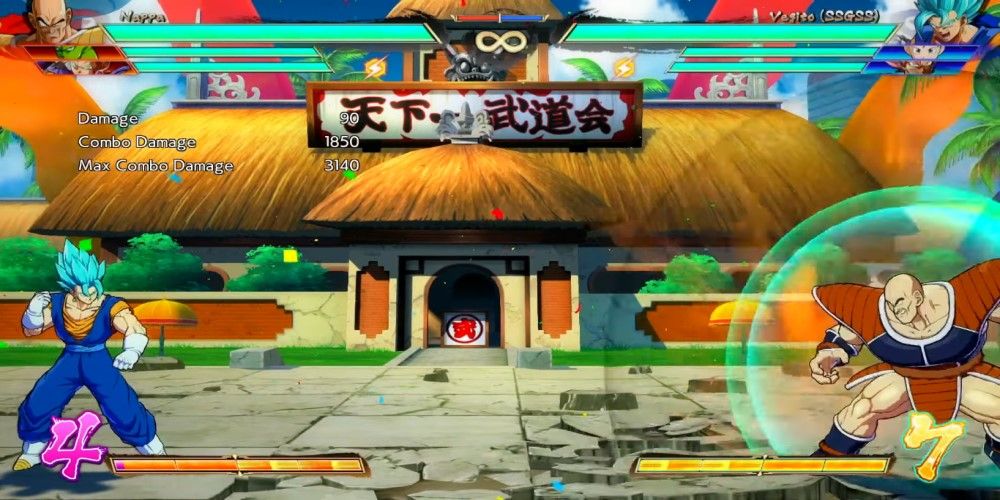
A large majority of the cast tin can jump cancel after their j.2H, an essential component of what's referred to equally the "universal combo". In that location are simply a few select characters that can't practice this, usually because their j.2H has a dissimilar office – such as Yamcha and Nappa.
However, well-nigh characters that can't jump cancel a j.2H unremarkably do have access to a similar extension in sparking. Characters like Cooler and Majin Buu tin jump cancel a j.2H in sparking, whereas characters similar Yamcha and Android 16 can instead spring cancel their j.H for the same upshot. All characters can also jump abolish a standing heavy, provided they've already used their blast holding.
2 Special IAD Cancels
Much in the same way some heavy attacks tin be jump canceled, nearly characters are also able to leap cancel their aerial ki blasts in sparking. A very select group of characters tin exercise something arguably much meliorate though: instant air dash cancels.
Instant air dash cancels are a sparking exclusive tool that allows certain characters to cancel special-belongings moves with a 66 input. It is finer the same thing as leap canceling, but those with access to a movement that can be IAD canceled are capable of amassing massive damage. Blue Gogeta has some saucy midscreen combos with his 2S, Super Broly has some nasty routes with his j.Due south, and Teen Gohan has multiple meter positive ToDs utilizing his 2S/3S bomb loops.
1 6M Sparking IAD
Similarly to special IAD canceling, every character has admission to a universal IAD conversion by utilizing their 6M. 6Ms are an overhead tool that every grapheme has admission to, capable of chop-chop hitting high and leaving you safe if blocked.
Usually it's impossible to combo if a 6M connects, every bit the game won't fifty-fifty let you vanish until the blitheness completes, just in sparking this tool becomes 10 times more threatening. Later on connecting a 6M in spark, if you lot input an IAD every grapheme tin follow up into a truthful combo. What comes later on is grapheme specific, merely information technology's an incredibly effective tool for opening up opponents anywhere on screen.
Source: https://www.thegamer.com/dragon-ball-fighterz-difficult-combos/
0 Response to "How Hard Is Dragon Ball Fighterz"
Post a Comment